Hi, how can we help you?
How to check login report?
A Check Login Report typically refers to a report or log that tracks and displays user login activity on a system or platform. It is commonly used by administrators or managers to monitor access and usage.
Step 1: Access the User Profile Menu
- Log into your OutPerform (OP) account.
- In the top-right corner of the screen, click on your User Profile icon

Step 2: Open the Login Report
- From the dropdown menu, click on “Login Report”.
- This will open the Login Report dashboard where you can view and filter user login details.
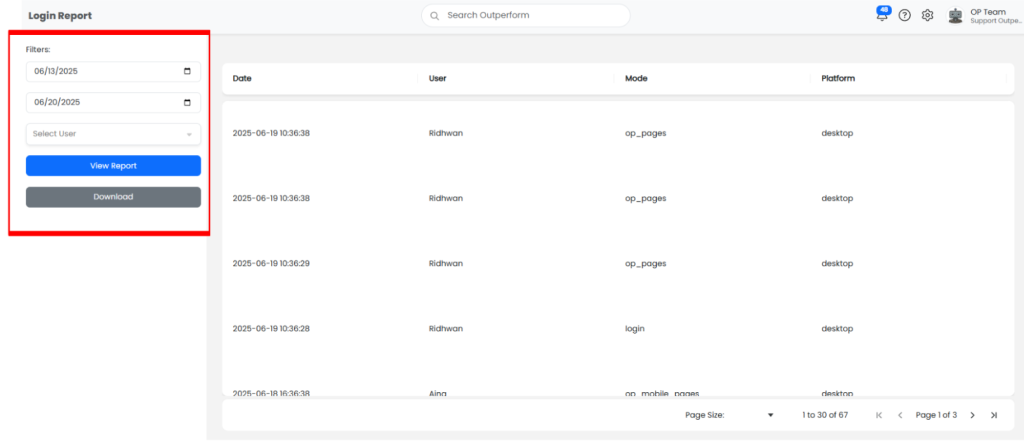
Step 3: Filter the Login Data
- Use the date range filter on the left sidebar:
- Click the calendar icons to select the start and end dates.
- Choose a specific User from the dropdown, or select “All Users” to see system-wide login activity.
Step 4: View and Understand Login Data
- After setting the filters, click the “View Report” button to generate the data.
- The report will display the following information for each user:
- Login Date and Time
- Logout Date and Time
- Platform Used – either Mobile App or Web/Desktop
Step 5: Download the Login Report
- If needed, click the “Download” button (usually located near the top or bottom of the report) to export the login data.
- This is useful for record-keeping or audit purposes.