Hi, how can we help you?
How to use the Deal Report Generator
Step 1: Open the Deal Report Generator
- Log in to your OutPerform account
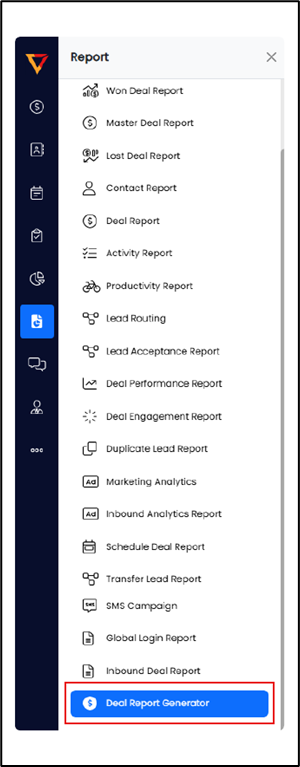
- Navigate to the Report section (report icon is on the left menu)
- Click on the Deal Report Generator – this will open the Deal Report Generator screen.
Step 2: Add a New Report
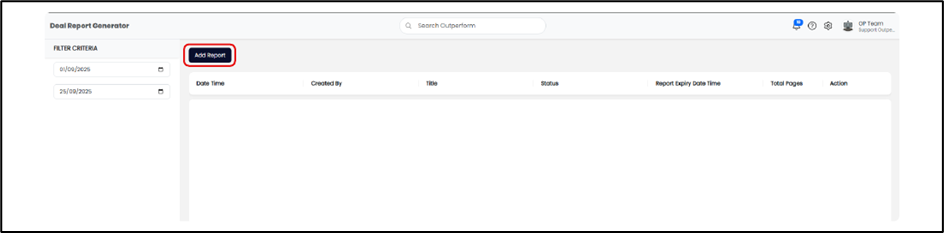
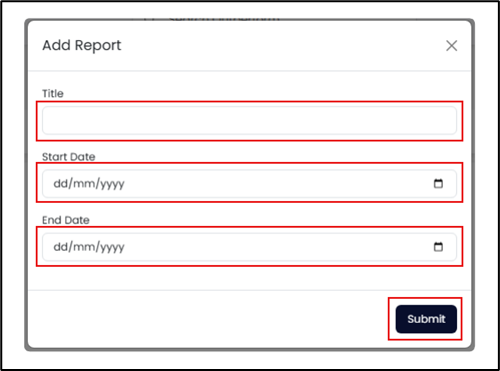
- Click the ‘Add Report’ button
- Fill in the following fields:
- Title – give your report a clear name.
- Start Date & End Date – set the report duration
- The ‘Start Date’ and ‘End Date’ are referring to the report range/duration that need to be generated.
- Once all fields are completed, click Submit to generate the report.
Step 3: Download the Report
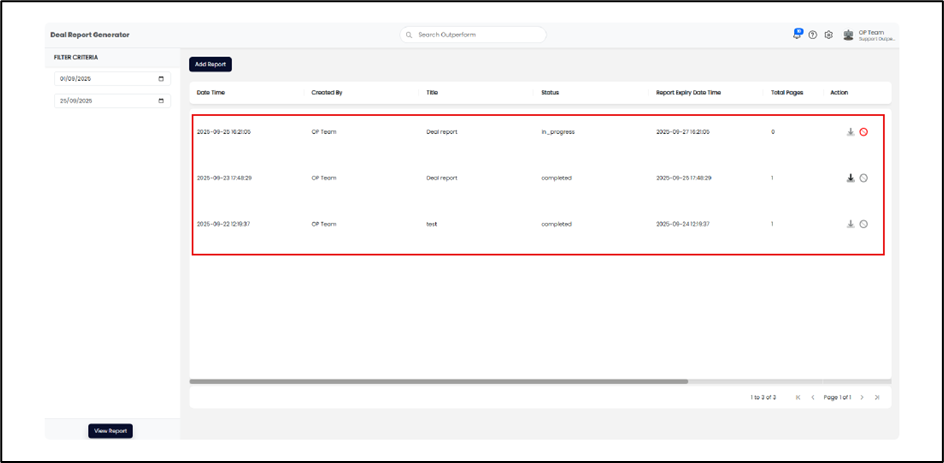
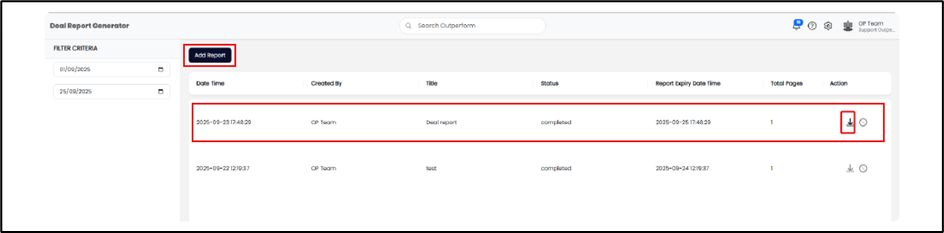
- Once the report is generated, it will appear in the listing.
- Click the Download icon to export the report.
- The file will be downloaded in Excel format (.xlsx).
Note: The download button can only be clicked once per report.
Step 4: Open and view the Report in Excel
- Locate the downloaded file on your computer.
- Open it with Microsoft Excel (or any compatible spreadsheet software).
- You can now analyze, filter, or sort the deal data directly within Excel.
Step 5: Cancel a Report
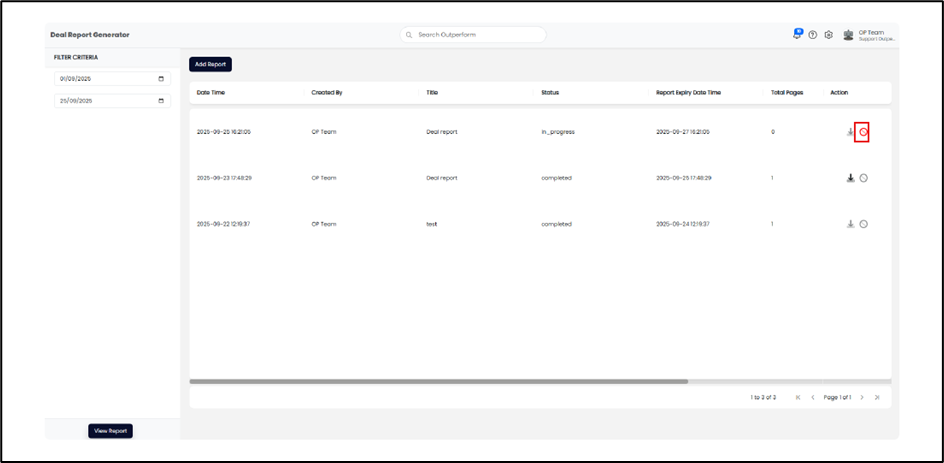
- To stop the report generation process, click the Cancel icon.
Note: The cancel button can only be clicked once.
Step 6: Filter Report by Date Range
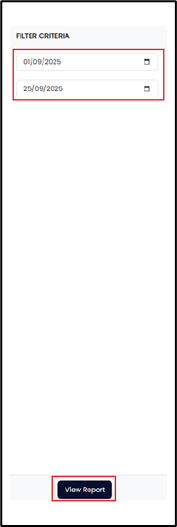
- In the Filter Criteria section, select the date range you want to view.
- Click View Report to see the filtered list.
- This filter will show you the list of report that you have requested for maybe within a week, a month or a year.