Hi, how can we help you?
How to add Pipeline and Stages?
This guide helps Admin and Manager users create custom pipelines and stages in OP — useful for managing sales, service, or after-sales processes.
Step 1: Access Pipeline Settings
- Log into your Outperform account (Web).
- Click on your Settings (top right).
- In the left menu, click on Pipeline Settings.
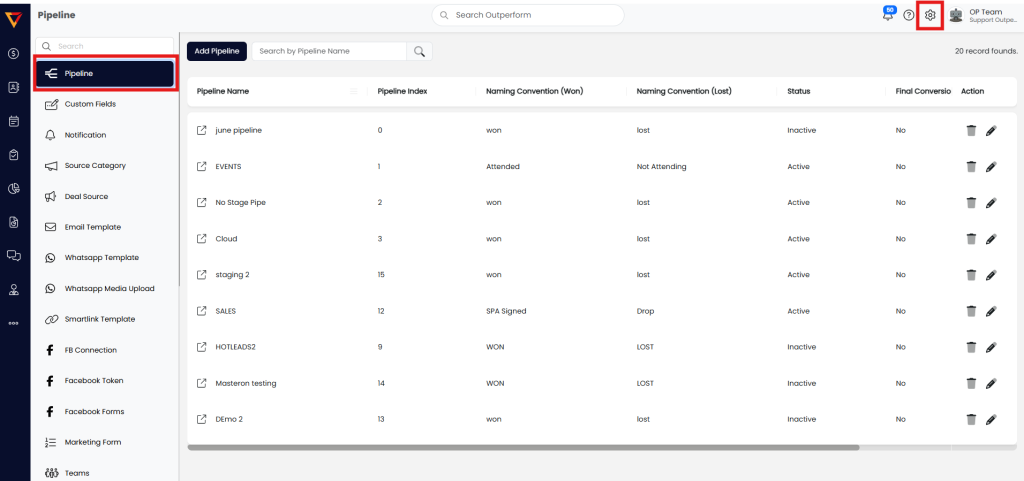
Step 2: Add a New Pipeline
- Click the Add Pipeline button.

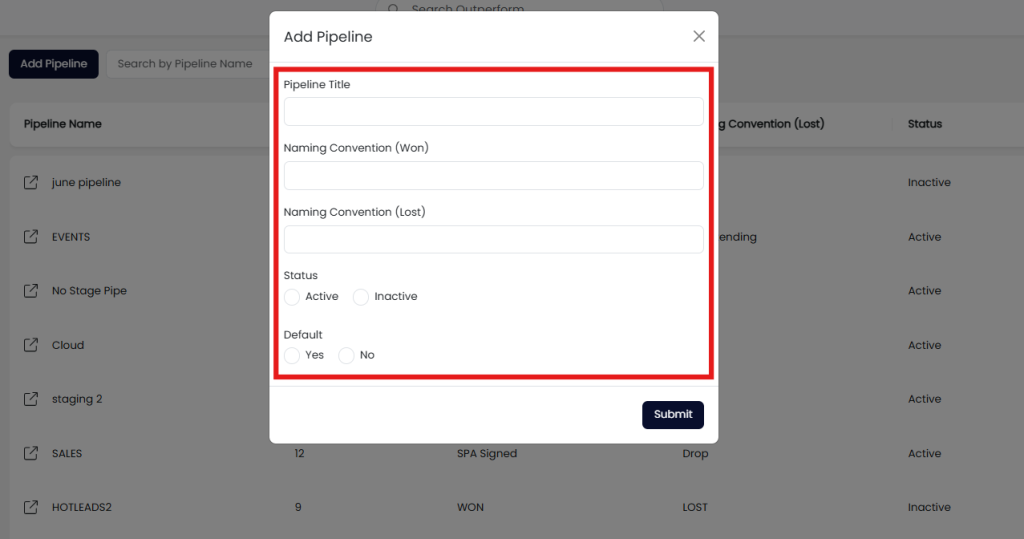
Step 3: Fill Pipeline Details
- Pipeline Title – Name your pipeline (e.g., Sales, After-Sales, Service).
- Naming Convention (Won) – Customize the label for the WON (green) button.
- Naming Convention (Lost) – Customize the label for the LOST (red) button.
- Status – Toggle to Active or Inactive.
- Default – Set this pipeline as the default for inbound leads from marketing channels.
Step 4: Save the Pipeline
- Click the Save button.
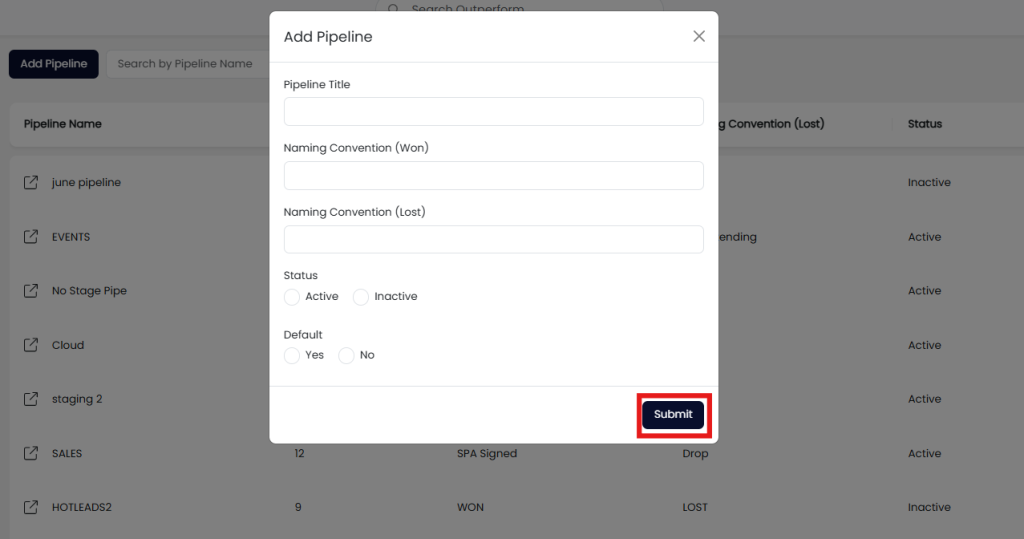
🎉 You have successfully added a pipeline!
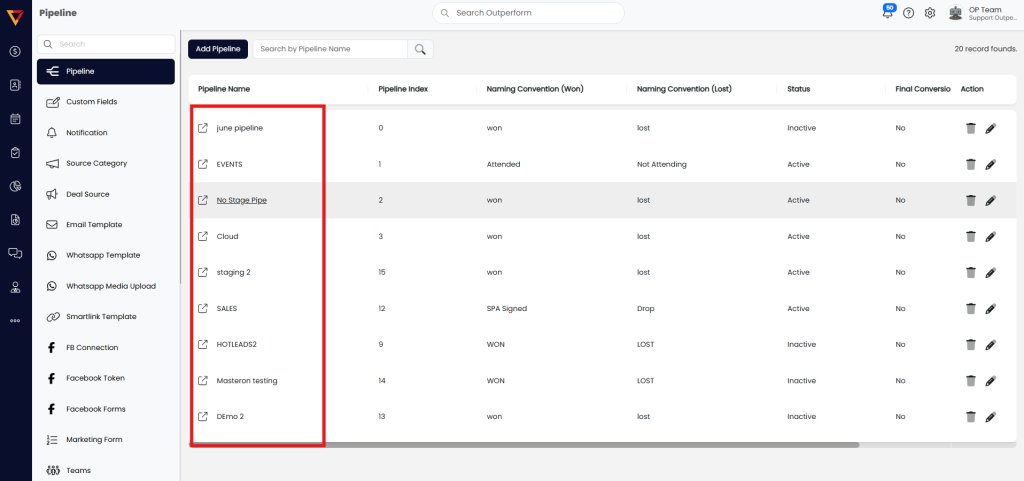
How to Add Stages to a Pipeline
Each pipeline can have multiple stages to reflect your process flow
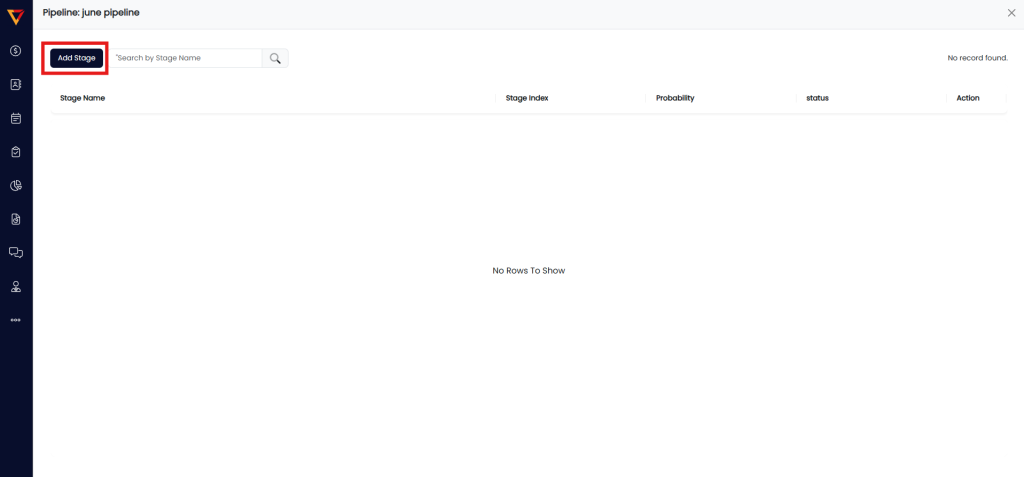
Step 1: Open the Pipeline
- Click on any pipeline name to view and manage its stages.
Step 2: Add a Stage
- Click on the Add Stages button.
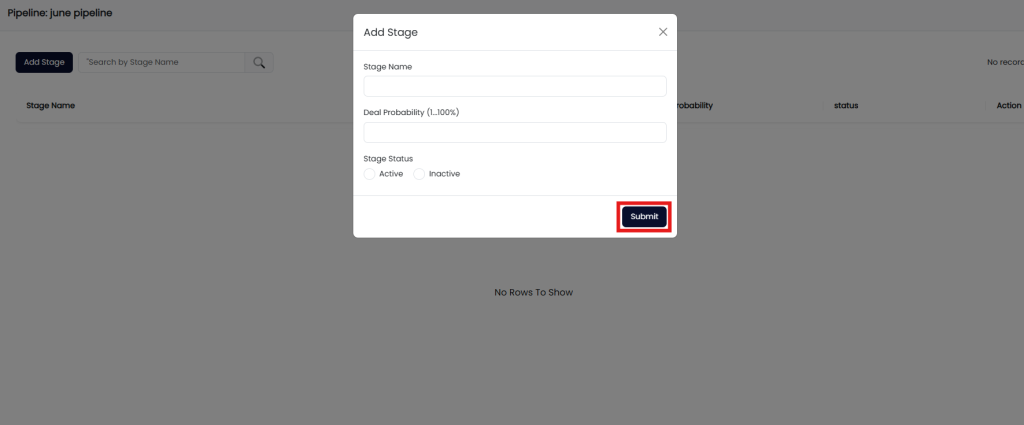
Step 3: Fill Stage Details
- Stage Name – Enter the name for this stage (e.g., Follow-Up, Proposal Sent).
- Deal Probability – Set the percentage chance of deal success at this stage.
- Pipeline Stage Status – Toggle to Active or Inactive.

Step 4: Save the Stage
- Click the Save button.
🎉 You have successfully added a stage to your pipeline!
✅ Pro Tips
- Use different pipelines for various teams (e.g., Sales, Support, Service).
- Keep stage names short but descriptive.
- Use probability percentages to improve forecasting accuracy.